Thursday, July 17, 2014

Diy Card and Envelope

Hello everyone! July is full of birthdays in this family and I just couldn't see myself spending $6 and $7 on a card. I decided that I was going to make my own, I had everything I needed to make them at home anyways. They are fun to make, inexpensive, and you can get creative with them.

Things you will need: 
Paper; both cardstock and scrapbook paper
Scissors
Ruler
Glue
Pencil
Envelope
Something round (I used the top to a candle)

 For your envelope just unfold the one you have and trace it on your scrapbook paper.

 Cut and fold.

Now glue the edges together and you are done with your envelope. 

For my card I chose to make a popsicle, but you could make whatever you wanted.
Make sure to fold your paper in half, width wise, so you can open and close it. 

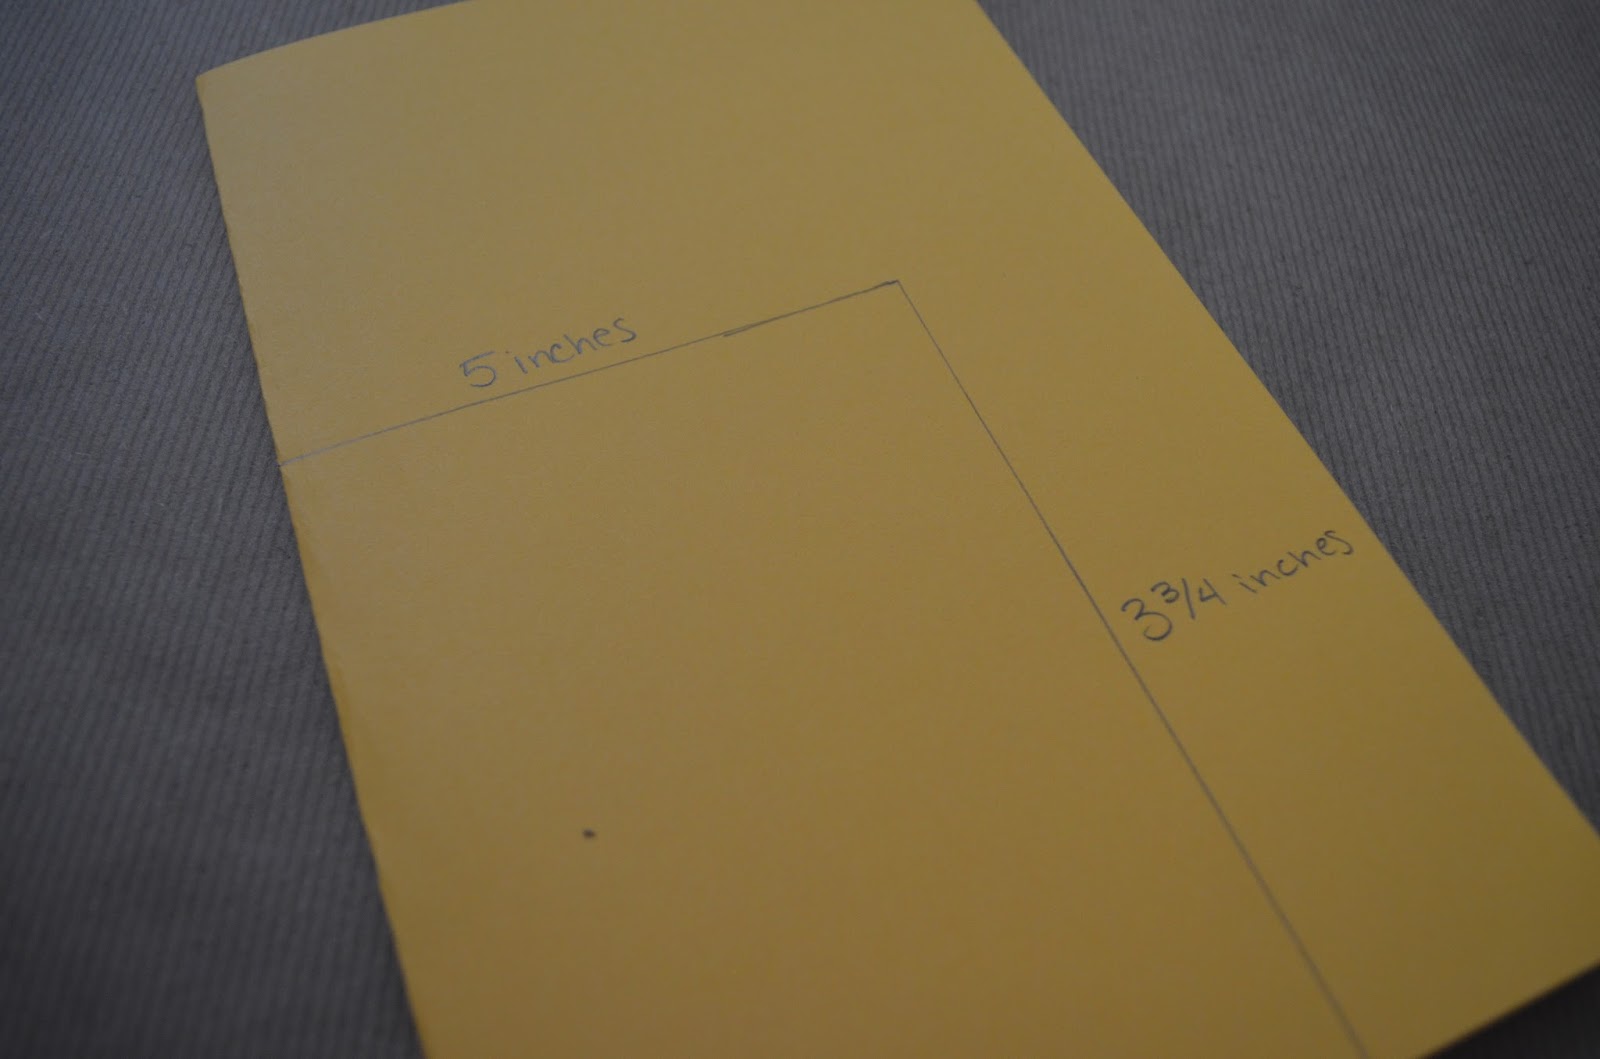
The first time I made my card I didn't take any measurements, so you don't really have to either,
but for this one I made it 5 inches wide and 3 3/4th inches long. 

To round off the top you can use anything round, I used the top to a candle which was the perfect size 
for me.

Take a white piece of paper and cut a thin crescent moon shape, then glue it to the top corner of your choice.

Cut a piece of brown card stock for the stick. I cut my about 2 to 3 inches long and 1 inch wide.
You can either leave it squared off or round it. I chose to make my round. If you want to you could also use a popsicle stick which you could buy at any craft store, they have thin and thick ones. 

Glue it to the back and there you go, you're finished.


Wednesday, April 9, 2014

DIY Wood Staining (with Coffee)

 
We really wanted to stain a couple of pieces of wood but didn't want to go spend $12 on a can of stain. While browsing through Pinterest we came across What Else Michelle's DIY Coffee Wood Stain and gave it a try. Since we already had the wood we just needed to buy the instant coffee.


Here is what you will need:
             Instant Coffee
Water
         Tablespoon
Wood
       OH! and a paintbrush.


First you need to add 4 heaping tablespoons of instant coffee to 1/4 cup of warm water (we actually did 1/3 cup of water). Stir it until it is all dissolved. It definitely smells a lot better then actual stain!
 
 
Now paint!
 
 
This is after one coat. It looked great, but wasn't as dark as we wanted so we ended up doing 4 coats.
 
 
Now that's the color we wanted! Keep in mind to let the wood dry completely after every coat. Since we had ours in the sun it didn't take too long to dry, only about 5 minutes in between coats. After you get your desired shade you can add a clear gloss or glaze to seal in the color. We did this with Krylon "Triple-Thick Crystal Clear Glaze".


Wednesday, January 29, 2014


Hello! We are super exited to start this blog together. We've been thinking about starting one for awhile now and thought that the new year was a perfect time. This is our first blog ever so there might be a few hiccups along the way. That being said, this blog will be devoted to things we love and love doing; things like DIY's, beauty, food, photography and the adventures we take. We hope you stick around!

 Dani & Averi